Search by Keyword
Building a Presentation
Overview of All Options within Presentation
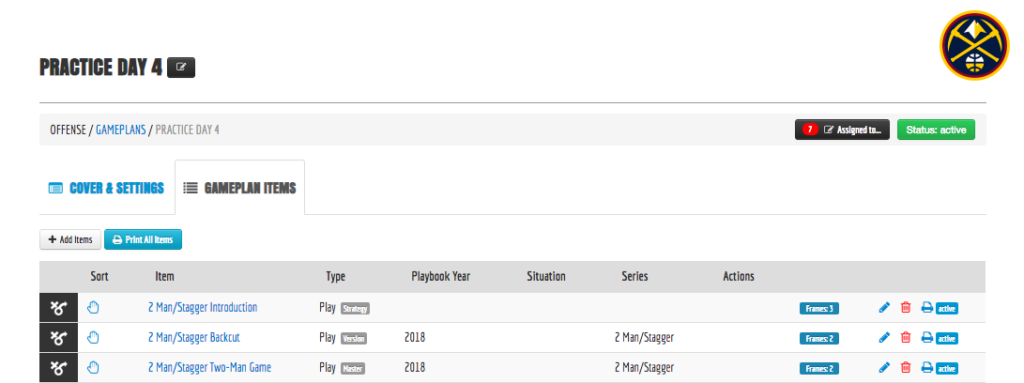
Step 1) Click Add Items
Note: Print all items is a great way to quickly many plays at one time.
Step 2) Add Your Items
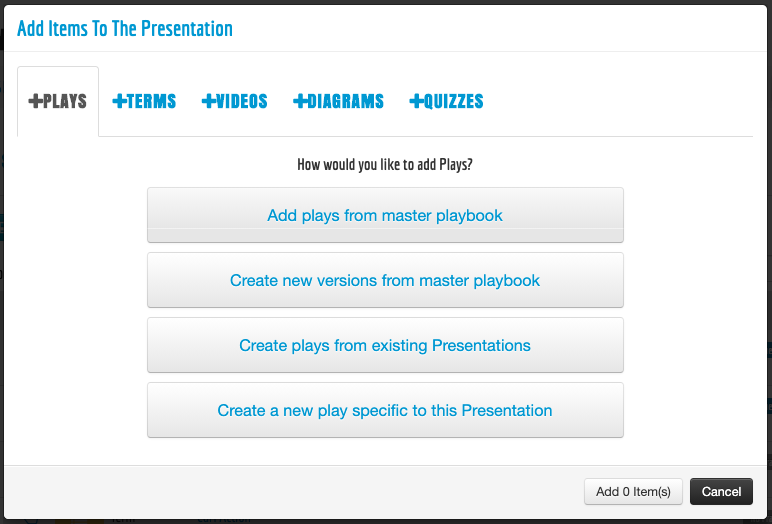
Option 1) Adding Plays From Your Playbook:
- Add Plays From Master Playbook: This creates a reference to your master playbook, any tweak or change made within the install will also be reflected in the playbook. (“Master”)
- Create Versions from Master Playbook: This creates a copy of the play within your master playbook, so that you can work fast and tweak as needed without changing your master playbook. (“Version”)
- Create Plays From Existing Presentation: This creates a copy of the play within another Presentation, so that you can work fast and tweak as needed without changing anything you’ve drawn previously. (“Version”)
- Create A New Play Specific the Presentation: This creates a new play and keeps it within your GamePlan. (“Strategy”)
Option 2) Terminology: Terminology is a place to breakdown every aspect of your “lingo,” but it also acts as a great filtering system for your playbook. For example, you can create a term for “flare screen” which automatically creates a tag so that any play in your playbook can be tagged with “flare screen” and reference the 1 term in case players every have a question. Additionally, people have used terminology to breakdown situations, formations or sets, signals, or even just general information.
If you want to see all your terminology and not just the select terms that you add to a gameplan, terminology can be found in the app, by click on the offense/defense section in the app (lower left corner) then click terminology and “+” to display all sections.